Introduction
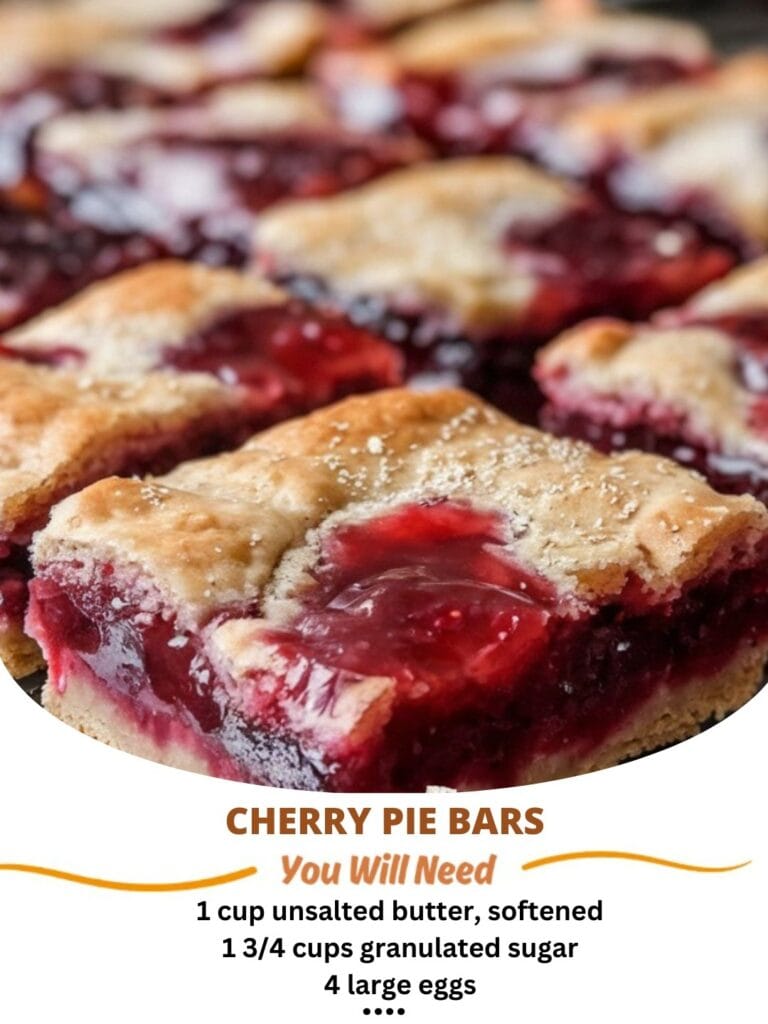
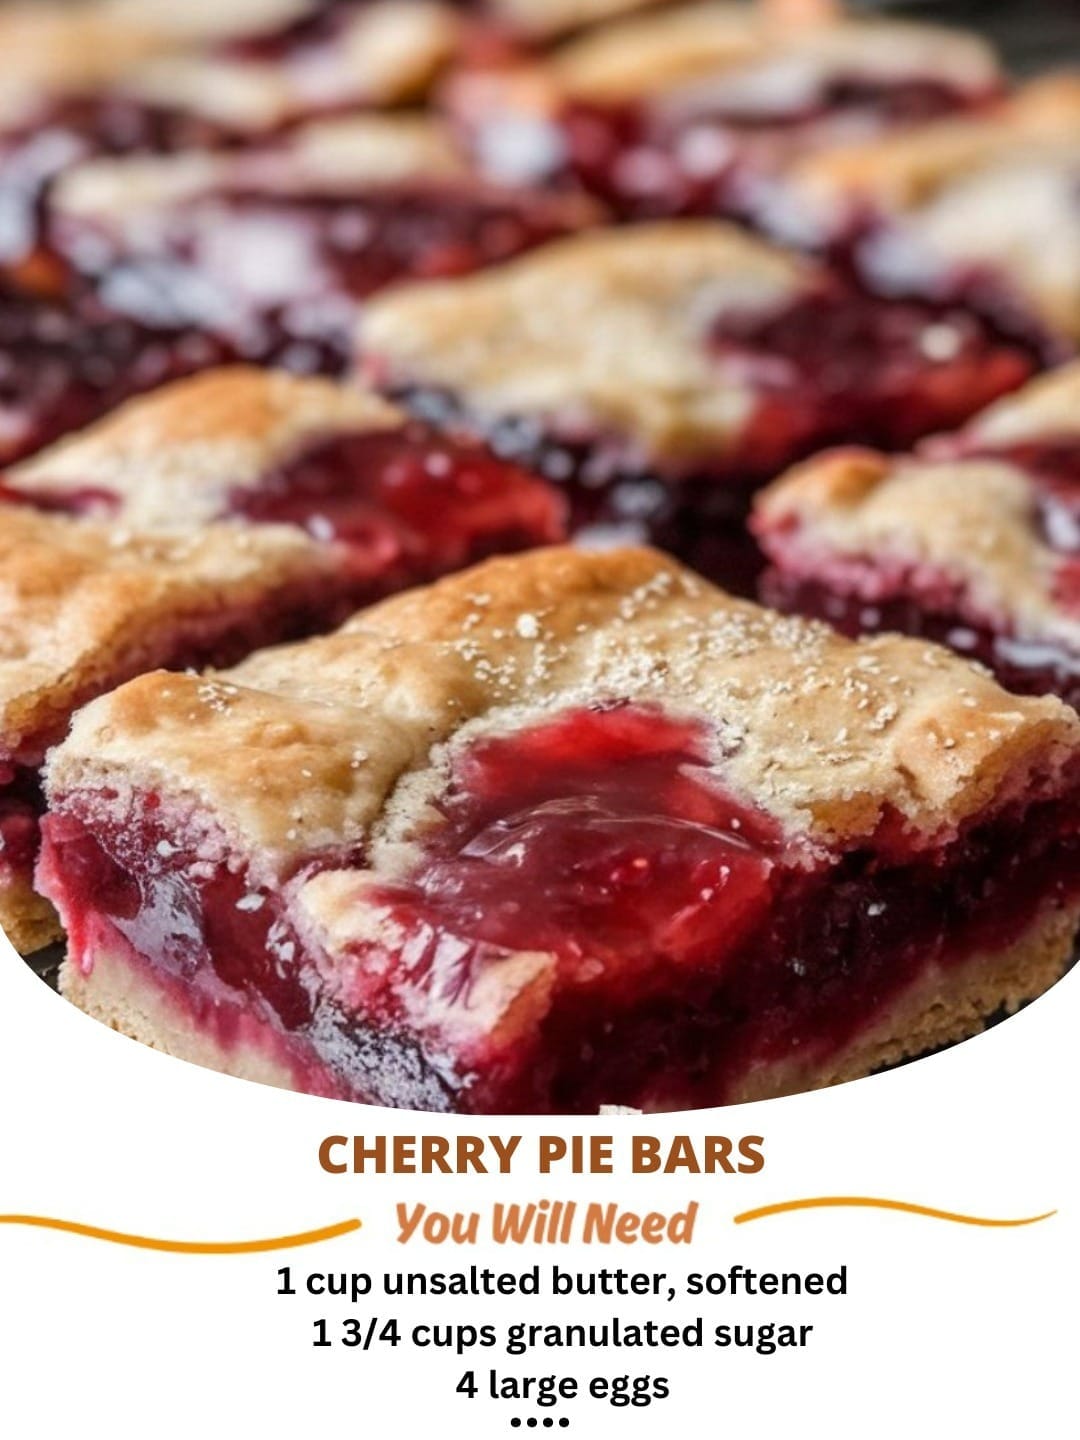
Satisfy your sweet tooth with these delicious Cherry Pie Bars! Bursting with juicy cherry filling and nestled between layers of buttery, crumbly crust, these bars are a delightful twist on the classic cherry pie. Perfect for summer picnics, potlucks, or simply as a sweet treat at home, these cherry pie bars are easy to make and even easier to enjoy. With their vibrant color and irresistible flavor, they’re sure to become a favorite in your dessert repertoire. Let’s dive into how to create these scrumptious bars that will impress your family and friends!
Why You’ll Love This Recipe
- Easy to Make: With simple ingredients and straightforward steps, these bars are perfect for bakers of all skill levels.
- Portable Treat: Cut into squares, they’re easy to transport, making them ideal for gatherings or picnics.
- Juicy and Delicious: The sweet cherry filling combined with a buttery crust creates a mouthwatering flavor that everyone will love.
- Versatile: Enjoy them warm with a scoop of vanilla ice cream or at room temperature with a dusting of powdered sugar.
- Make Ahead: These bars can be made in advance and stored, making them great for busy schedules.
Ingredients List
For the Crust and Topping:
- ✔️ 🔹 2 1/2 cups all-purpose flour
- ✔️ 🔹 1 cup granulated sugar
- ✔️ 🔹 1 cup unsalted butter, softened
- ✔️ 🔹 1/2 teaspoon salt
- ✔️ 🔹 1/2 teaspoon baking powder
- ✔️ 🔹 1 teaspoon vanilla extract
For the Cherry Filling:
- ✔️ 🔹 2 cups fresh or frozen cherries, pitted (or one 21 oz can of cherry pie filling)
- ✔️ 🔹 1/4 cup granulated sugar (adjust based on the sweetness of cherries)
- ✔️ 🔹 1 tablespoon cornstarch
- ✔️ 🔹 1 tablespoon lemon juice
- ✔️ 🔹 1/2 teaspoon almond extract (optional)
Note: For precise measurements, please refer to the recipe card on cookingforhome.com.
Step-by-Step Directions
1. Preheat the Oven
- Set Temperature: Preheat your oven to 350°F (175°C) and grease a 9×13-inch baking pan or line it with parchment paper for easy removal.
2. Prepare the Cherry Filling
- Mix Ingredients: In a medium bowl, combine the cherries, sugar, cornstarch, lemon juice, and almond extract (if using). Stir until the cherries are well coated and set aside.
3. Make the Crust and Topping
- Cream Butter and Sugar: In a large mixing bowl, beat together the softened butter and sugar until light and fluffy.
- Add Dry Ingredients: Gradually mix in the flour, salt, baking powder, and vanilla extract until the dough comes together. It will be crumbly but should hold when pressed.
4. Layer the Bars
- Press Dough into Pan: Take about two-thirds of the dough and press it evenly into the bottom of the prepared baking pan to form the crust.
- Add Cherry Filling: Spread the cherry filling evenly over the crust.
- Crumble Remaining Dough: Crumble the remaining dough over the cherry filling to create a topping.
5. Bake
- Bake: Place the pan in the preheated oven and bake for 35-40 minutes, or until the top is lightly golden and the cherry filling is bubbly.
6. Cool and Serve
- Let Cool: Allow the bars to cool in the pan for about 15-20 minutes before slicing into squares. For best results, let them cool completely before serving.
Pro Tip: Serve warm with a scoop of vanilla ice cream for an extra special treat!
Variations & Substitutions
- Different Fruits: Substitute cherries with blueberries, raspberries, or peaches for a fruity twist.
- Add Spices: Sprinkle cinnamon or nutmeg into the cherry filling for an added layer of flavor.
- Gluten-Free Option: Use a gluten-free flour blend in place of all-purpose flour for a gluten-free version.
Storage Instructions
- Room Temperature: Store leftover cherry pie bars in an airtight container at room temperature for up to 3 days.
- Refrigeration: For longer freshness, you can refrigerate them for up to a week.
- Freezing: Freeze individual bars in freezer-safe bags or containers for up to 3 months. Thaw in the refrigerator before serving.
FAQs
Can I use canned cherries instead of fresh?
Yes! Canned cherries or cherry pie filling can be used as a convenient alternative. Just reduce the sugar in the filling if using sweetened pie filling.
What if my filling is too runny?
If the filling seems too runny, you can cook it on the stove over medium heat for a few minutes to thicken it before adding it to the bars.
Can I make these bars ahead of time?
Absolutely! These cherry pie bars can be made a day in advance. Just store them in an airtight container to keep them fresh.
Conclusion
These Cherry Pie Bars are a delightful dessert that combines the sweet and tart flavors of cherries with a buttery, crumbly crust. They are perfect for any occasion and are sure to be a hit with family and friends. Try this recipe today, and don’t forget to share your thoughts and any variations you make in the comments below! For more delicious recipes, visit cookingforhome.com and follow us on Facebook and Pinterest for more culinary inspiration. Enjoy your baking adventure! 🍒🍰✨
Print
Cherry Pie Bars
Enjoy the delightful taste of summer with these Cherry Pie Bars! These delicious bars feature a buttery crust and a sweet cherry filling, making them the perfect dessert for picnics, potlucks, or a cozy night in.
- Total Time: 50 minutes
- Yield: 12 1x
Ingredients
- For the Crust and Topping:
- 2 1/2 cups all-purpose flour
- 1 cup granulated sugar
- 1 tsp baking powder
- 1/4 tsp salt
- 1 cup (2 sticks) unsalted butter, softened
- 1 large egg
- 1 tsp vanilla extract
- For the Cherry Filling:
- 4 cups fresh or frozen cherries, pitted (or 2 cans of cherry pie filling)
- 1/2 cup granulated sugar (adjust based on tartness)
- 2 tbsp cornstarch
- 1 tbsp lemon juice
- 1/2 tsp almond extract (optional)
Instructions
- Preheat the Oven: Preheat your oven to 350°F (175°C). Grease a 9×13-inch baking dish.
- Make the Crust: In a large mixing bowl, combine the flour, sugar, baking powder, and salt. Add the softened butter, egg, and vanilla extract. Mix until the dough comes together. It will be crumbly but should hold when pressed.
- Press the Dough: Reserve 1 cup of the dough for the topping. Press the remaining dough evenly into the bottom of the prepared baking dish to form the crust.
- Prepare the Cherry Filling: In a medium bowl, combine the cherries, sugar, cornstarch, lemon juice, and almond extract (if using). Toss until the cherries are well coated.
- Assemble the Bars: Spread the cherry filling evenly over the crust. Crumble the reserved dough over the top of the cherry filling.
- Bake: Bake in the preheated oven for 35-40 minutes, or until the topping is golden brown and the filling is bubbly.
- Cool: Allow the bars to cool in the pan for at least 30 minutes before slicing into squares.
- Serve: Enjoy your Cherry Pie Bars warm or at room temperature! They can be served plain or with a scoop of vanilla ice cream for an extra treat.
Notes
- Additional Tips: You can substitute other fruits like blueberries or raspberries if cherries aren’t available. For an extra touch, sprinkle powdered sugar on top before serving.
- Storage: Store leftovers in an airtight container at room temperature for up to 3 days, or refrigerate for up to a week.
- Freezer-Friendly: These bars can be frozen! Wrap them tightly in plastic wrap and store in a freezer-safe container for up to 3 months. Thaw in the refrigerator before serving.
- Prep Time: 15
- Cook Time: 35
- Category: Dessert
- Cuisine: American
Keywords: Cherry Pie Bars

